This article is about: How to Print Amazon Return Label. Returning items on Amazon has never been easier, thanks to the convenience of printing return-labels at home. In this comprehensive guide, we’ll walk you through the process of printing an Amazon return label step by step. Whether you’re a seasoned online shopper or new to the world of e-commerce, this article will provide valuable insights to ensure a smooth return experience.
Table of Contents
Why Printing an Amazon Return Label Is Important:
Before delving into the how-to, let’s understand the significance of printing your Amazon return label. Having a printed label not only streamlines the return process but also ensures accurate tracking and faster processing at Amazon’s end. It eliminates the need for handwritten labels and minimizes the risk of errors, making the entire return procedure more efficient.
Steps to Print Amazon Return Label:
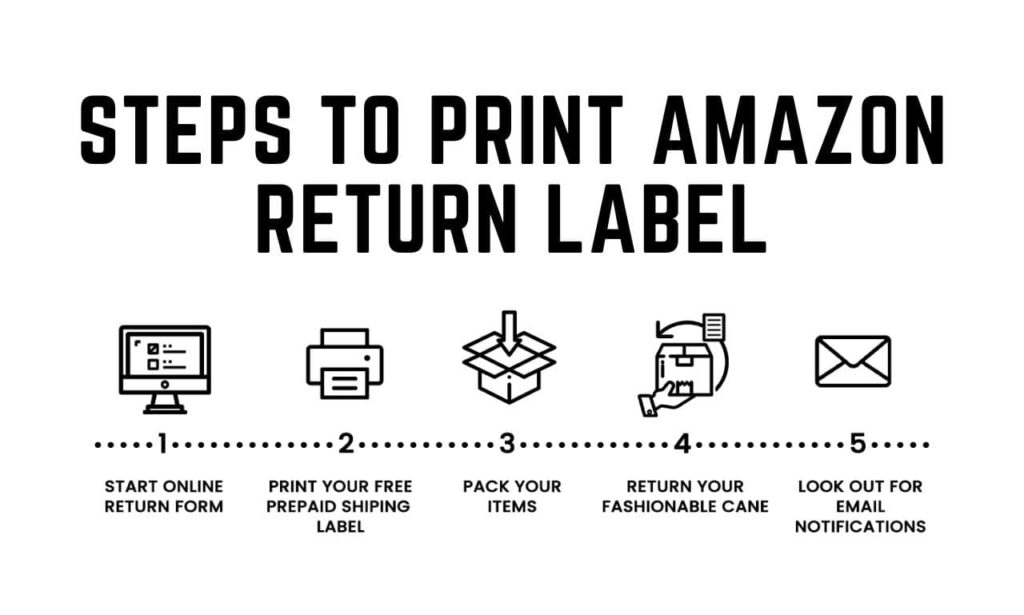
Log in to Your Amazon Account:
The first step is to log in to your Amazon account. Navigate to the “Your Orders” section to locate the item you wish to return.
Go to Your Orders:
Once logged in, find the “Your Orders” tab. This section displays a list of all your recent purchases.
Select the Item for Return:
Locate the specific order containing the item you want to return. Click on “Return or Replace Items” to initiate the return process.
Choose a Return Method:
Amazon provides various return methods. Select the one that suits your convenience, and proceed to the next step.
Print the Return Label:
After choosing the return method, you will have the option to print the return label. Click on the “Print Label” button, and ensure your printer is ready.
Tips for a Hassle-Free Return Label Printing:

Check Printer Settings:
Before hitting the print button, double-check your printer settings. Ensure it’s set to the correct paper size and quality for optimal label printing.
Use the Right Paper:
Use a good-quality, standard-sized paper to print your label. This ensures clarity and durability throughout the return process.
Ensure Clarity of the Barcode:
The barcode on the return label is crucial for proper tracking. Make sure it prints clearly and is free from any smudges or distortions.
Common Issues and Troubleshooting:
Printer Not Connected:
If your printer isn’t connecting, ensure it’s properly plugged in and configured. Restart both the printer and your computer if necessary.
Label Not Printing Clearly:
In cases of unclear prints, check your ink or toner levels. Replace or refill as needed for a crisp and readable label.
Wrong Return-Label Printed:
Double-check the order and item details before printing. If the wrong label is printed, repeat the process with the correct item selected.
The Importance of a Legible Barcode:
A legible barcode is crucial for a smooth return process. It ensures accurate tracking, reducing the chances of misplacement and speeding up the processing time on Amazon’s end.
Benefits of Printing Amazon Return Labels at Home:
Printing return-labels at home offers several advantages. It saves time, provides flexibility, and allows you to control the printing quality, reducing the likelihood of errors.
Conclusion:
In conclusion, printing Amazon return labels at home is a simple yet impactful way to enhance your online shopping experience. By following the steps outlined in this guide and implementing the provided tips, you can ensure a seamless return process and contribute to the overall efficiency of the e-commerce ecosystem.


2 thoughts on “How to Print Amazon Return Label – Master Your Returns”